To add the 'Mass Delete Files from Azure' and 'Mass Download Files from Azure' buttons to the related cloud documents section on the parent record, follow the steps below:
- Go to the Setup.
- Click on "Object Manager" to access the object settings.
- Select the object on which you want to add the buttons. This should be the object that is associated with the cloud documents you want to work with.
- Look for the page layout that needs to be updated and click on "Edit" next to it.

- In the page layout editor, navigate to the section where the related lists are displayed.
- Locate the related list for cloud documents and click on the wrench icon associated with it.
- A configuration window will appear. Look for the "+" sign next to the list of available buttons and click on it.

- From the list of available buttons, select "Mass Delete Files from Azure" and "Mass Download Files from Azure".
- Once you have selected the buttons, click on "OK" to confirm your selection and save the page layout.

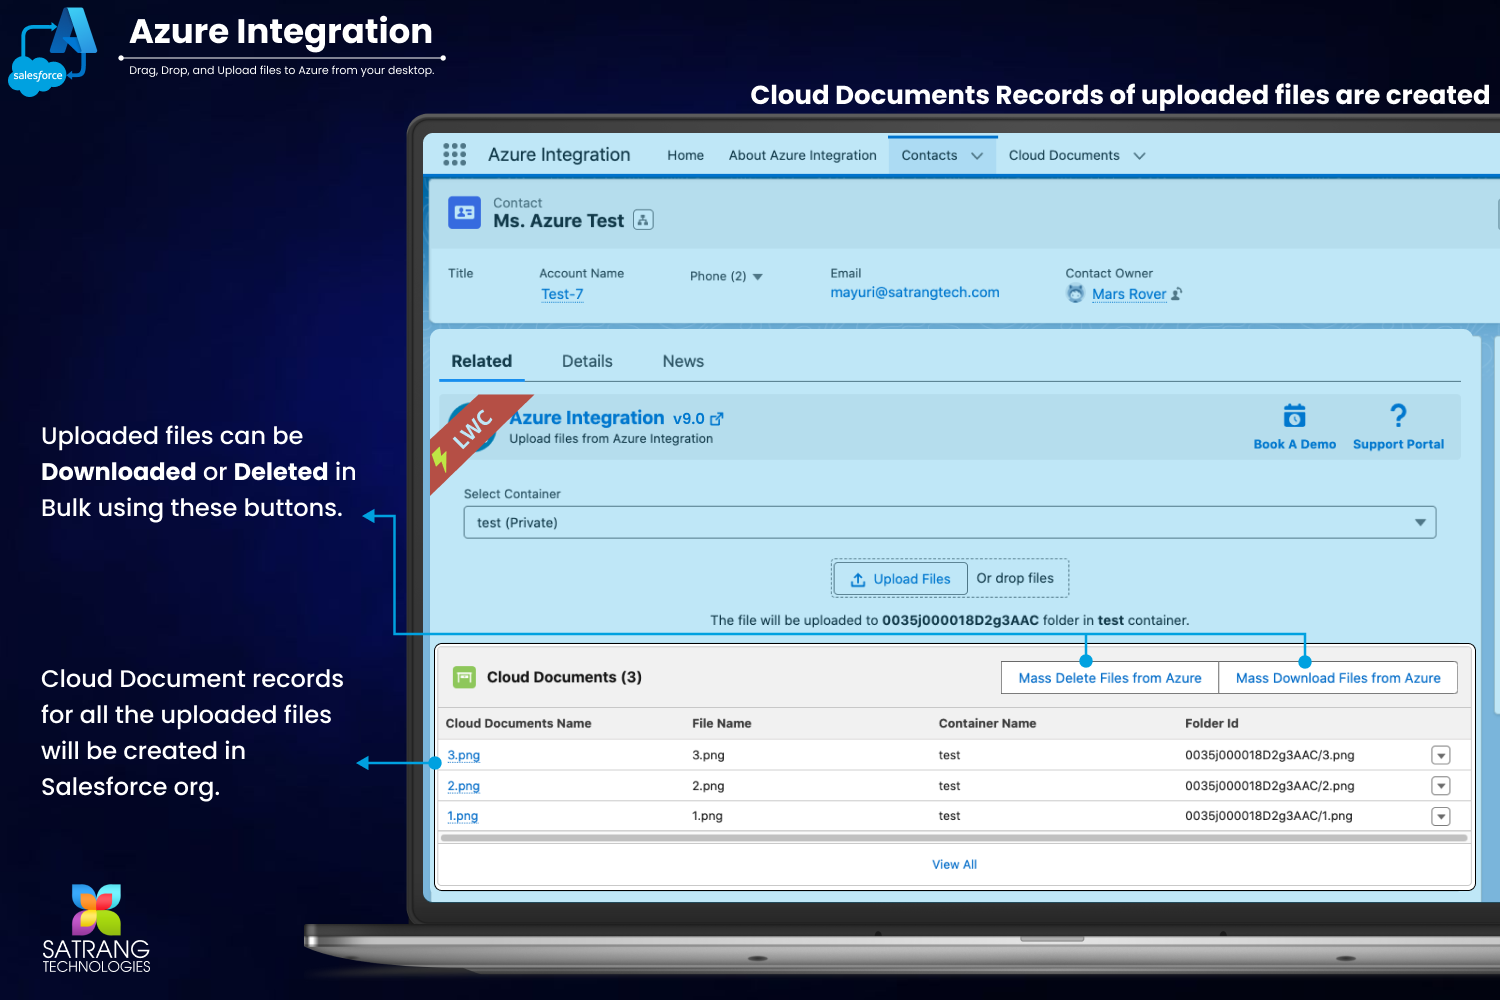
- By following these steps, you will have successfully added the "Mass Delete Files from Azure" and "Mass Download Files from Azure" buttons to the related cloud documents in Azure, which look like in the image.
P.S. Discover Azure Integration, the easy way to upload files from any Salesforce record to Azure. Find it on AppExchange: https://appexchange.salesforce.com/appxListingDetail?listingId=c9e71bd6-5bab-4182-a461-b82d4f971183